Imaginary landscapes: original, photoshop, warm variant, cool variant.


|


|
(1) Overview and Tutorials
(2) Basics
(3) Files for Print and Web
(4) Selections
(5) Layers
(6) Painting
(7) Image Sources and Resolution
(8) Design Principles and Effective Cropping
(9) Adobe Bridge and Automations
(10) Correcting Image Tonality
(11) Adjusting Image Colors
(12) Painting with Special Tools
(13) Fun with Filters
(14) Putting it all Together
12/12 - Photoshop is fun and takes years to learn and discover... It is the industry standard software for image editing; it is both very powerful and very complex. As you learn to master its complexity, you will discover that PS is a magical program. Use it to (1) adjust scanned or digital camera images for better screen display or printing (PS lets you easily change the file format of images to use as email attachments, Web pages, or print docs like brochures and newsletters), and (2) edit photos taken with a camera or digitized with a scanner; PS becomes an electronic darkroom...
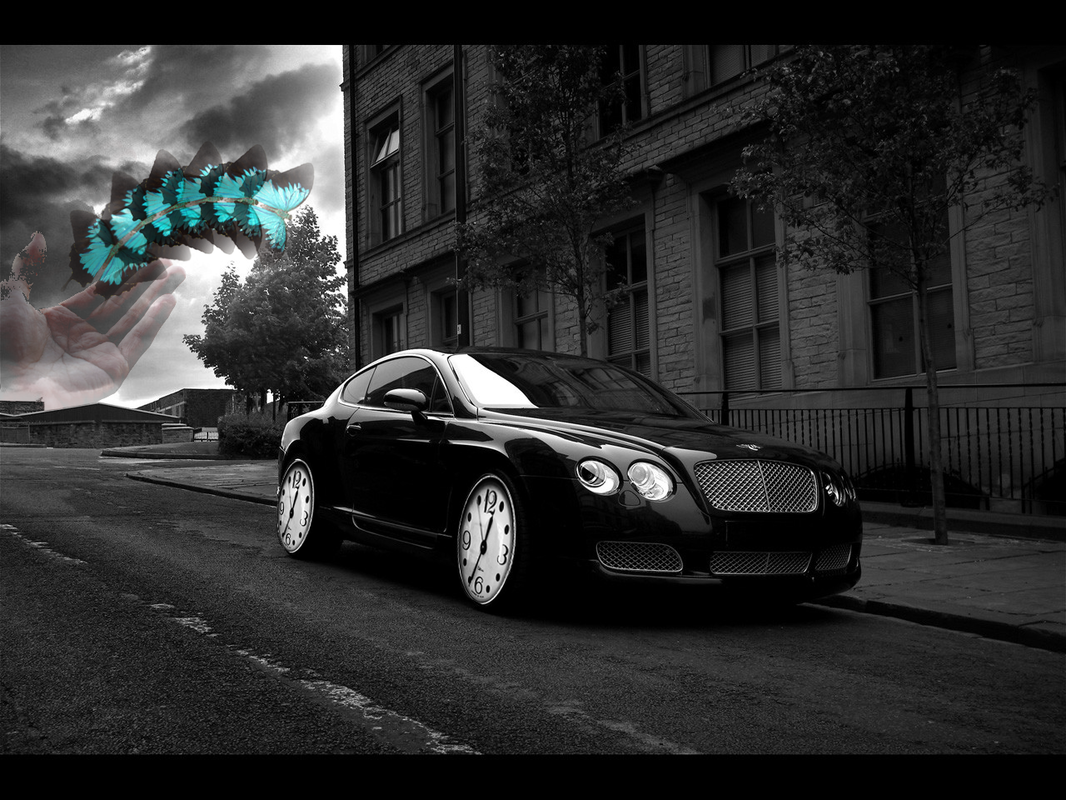
This photoshop project incorporated 4 elements into the graphic: the original image, and three more integrated elements. This taught me how to skew images (the clocks) to fit a certain boundary, copy/paste multiple images at an angle, and use transparency and order.
1/10
(1) Menu bar / context menus options bar / tools panel
(2) Workspace Switcher - change built-in workspace
(3) manipulate and customize panels
(4) Navigate your PSD with: Zoom, Hand, Navigator
(5) Undo and History - go back steps in time
(6) Use the 'Help' to find out more about all tools, panels.
(1) Menu bar / context menus options bar / tools panel
(2) Workspace Switcher - change built-in workspace
(3) manipulate and customize panels
(4) Navigate your PSD with: Zoom, Hand, Navigator
(5) Undo and History - go back steps in time
(6) Use the 'Help' to find out more about all tools, panels.
1/12 - Resolution is a difficult concept to grasp, When measuring the QUALITY of an image, resolution specifies the number of pixels within a given area, often given in pixels per inch or dots per inch, but it can also refer to the QUANTITY of pixels in something - its absolute image dimensions. PSCC needs a screen R = 1024x786p.

|


|
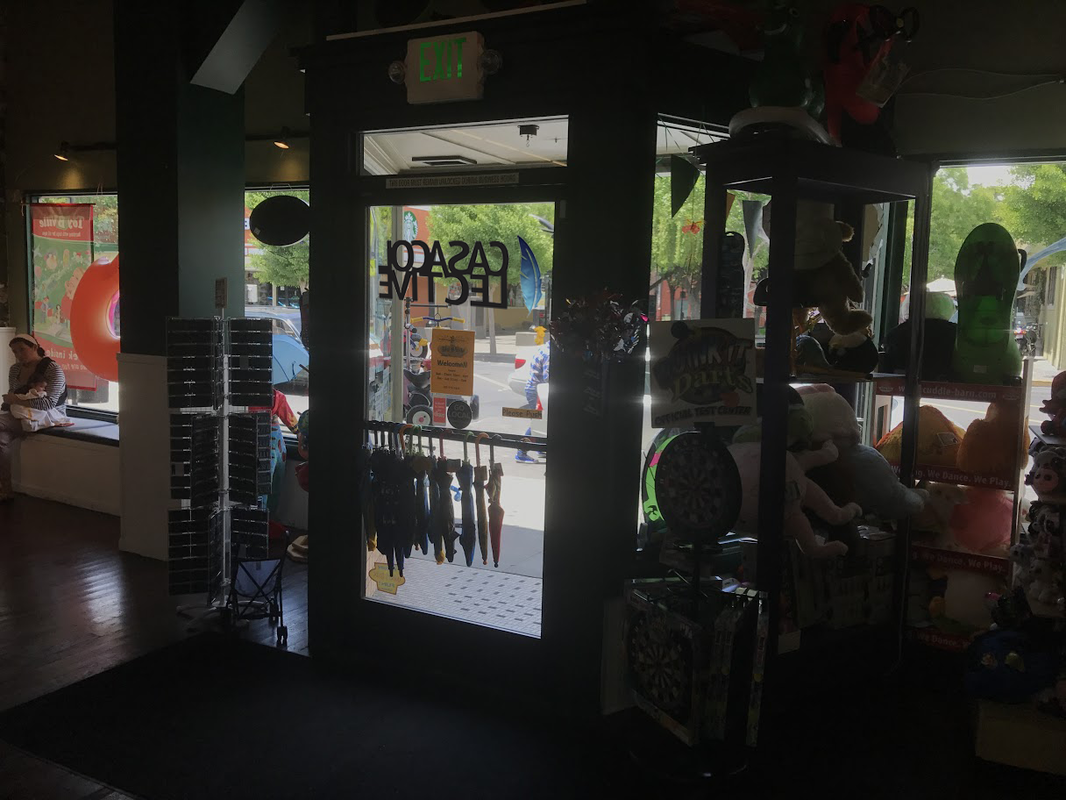
For this design, we were asked to "carve" a pumpkin -- first utilizing the lasso and magnetic lasso tools to cut the shape out of the original image, and the using custom brushes to have the effect of a hollowed-out pumpkin. For the candle, we had the option of erasing certain pixels to give the impression of the candle on the inside of the pumpkin, or we could use the window tool to cut out the black shapes, making windows for the candle to show through. As for the background image, it was a simple matter of blurring the image in the effects tab and sending it to the back of the document.
1/17 - Document Resolution - the measurement of a document in pixels. 600x400 = 600 pixels wide by 400 pixels tall; this is the "quantity" form of resolution. Each PS doc also has a PPI (pixels per inch) measurement; this is the "quality" form of resolution. Printers use dots of ink or toner (i.e. dots per inch, or DPI).
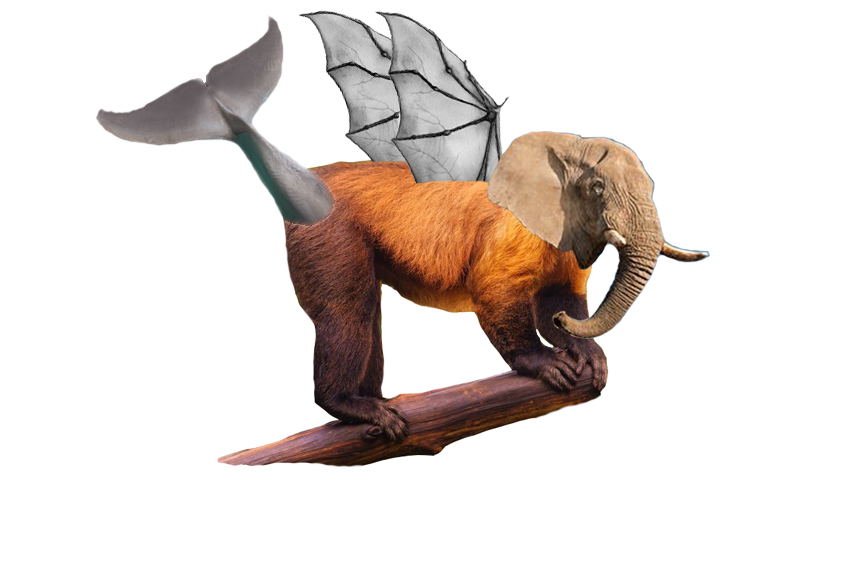
This project called for creating an imaginary creature with 4 or 5 other body parts from different animals. The lasso too was largely used, and I had to utilize different layers to easily drag and drop elements to different locations.
2/8
(1) How big is your file?
(2) The size of an image can have two different values: DIMENSION SIZE - the size an image would print out; FILE SIZE: the space an image takes up on a hard drive or disk in bytes, kilobytes, or megabytes.
(3) A BIT is the smallest unit of info on a computer. A BYTE is made of 8 bits, a KILOBYTE is roughly 1,000 bytes, and a MEGABYTE is 1,024 kilobytes.
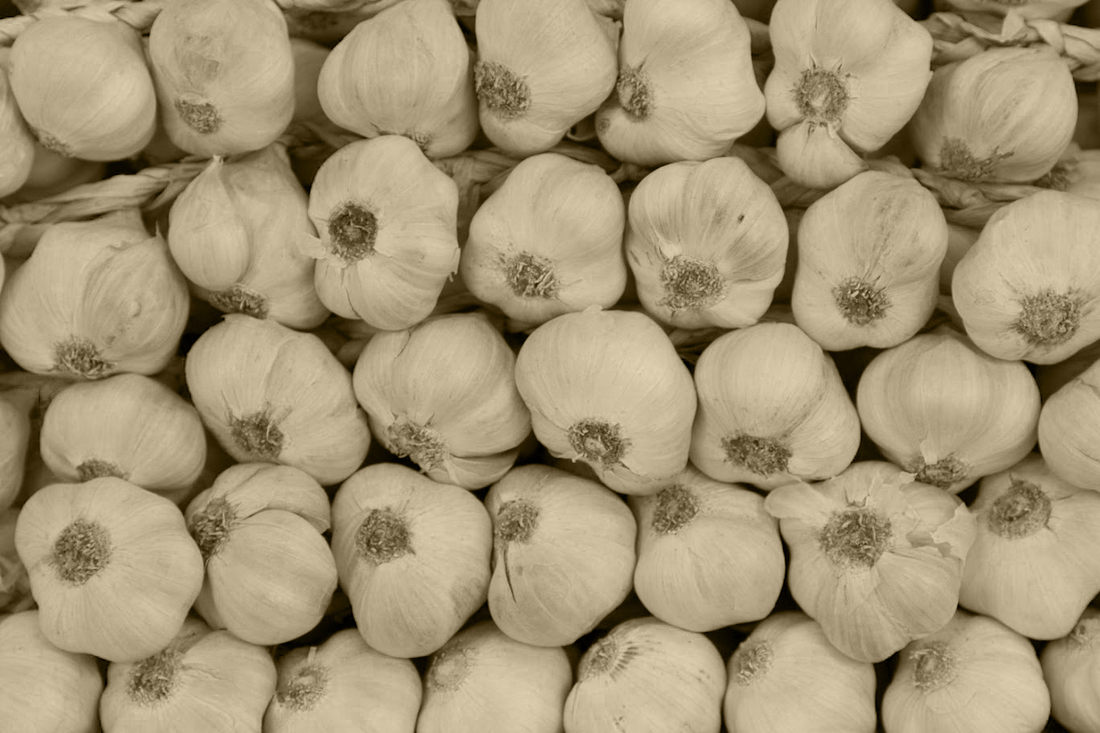
2/24
PS provides many different ways to restore aged, damaged pics. Most flatbed scanners provide different levels of automation when they scan images, The problem with this is sometimes they create many if not more problems to fix.
Restore Tools we will test out.
PS provides many different ways to restore aged, damaged pics. Most flatbed scanners provide different levels of automation when they scan images, The problem with this is sometimes they create many if not more problems to fix.
Restore Tools we will test out.
- Levels
- Hue/Saturation
- Spot Healing Brush
- Close Stamp Tool
- Content-Aware Fill
- Red Eye Tool
- History Brush Tool

2/28
Repair aged and damaged pics.
Repair aged and damaged pics.
- Evaluate the image to determine what needs to be fixed.
- Examine the 'HISTOGRAM' panel to confirm the missing highlights.
- Use the cursor to note 'RGB' values in the info panel.
- Add a 'LEVELS' Adjustment layer.
- Notice the 'HISTOGRAM' changes when you make updates...
- Use 'HUE.SATURATION' and other adjustments to keep improving it...
|
After:
|
Before:
|


|


|
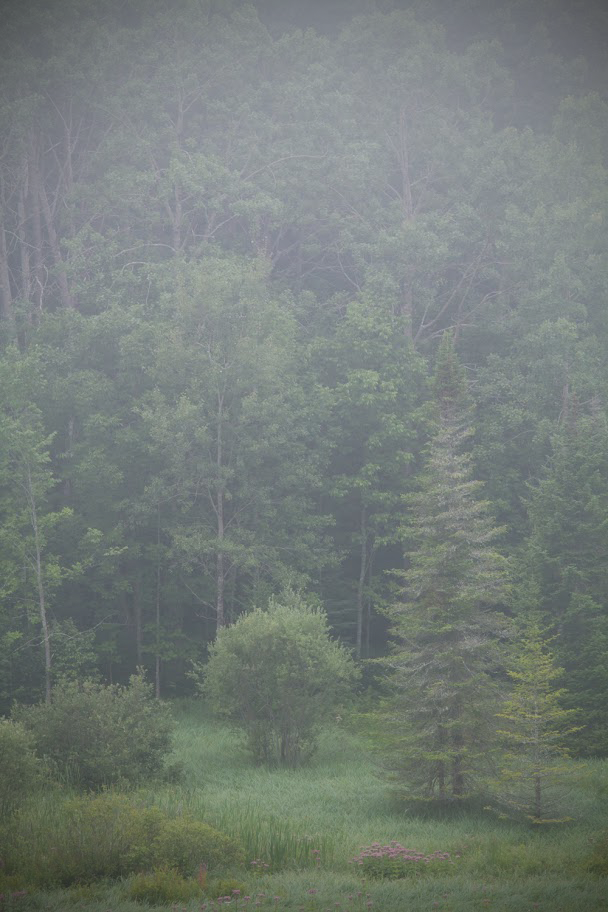
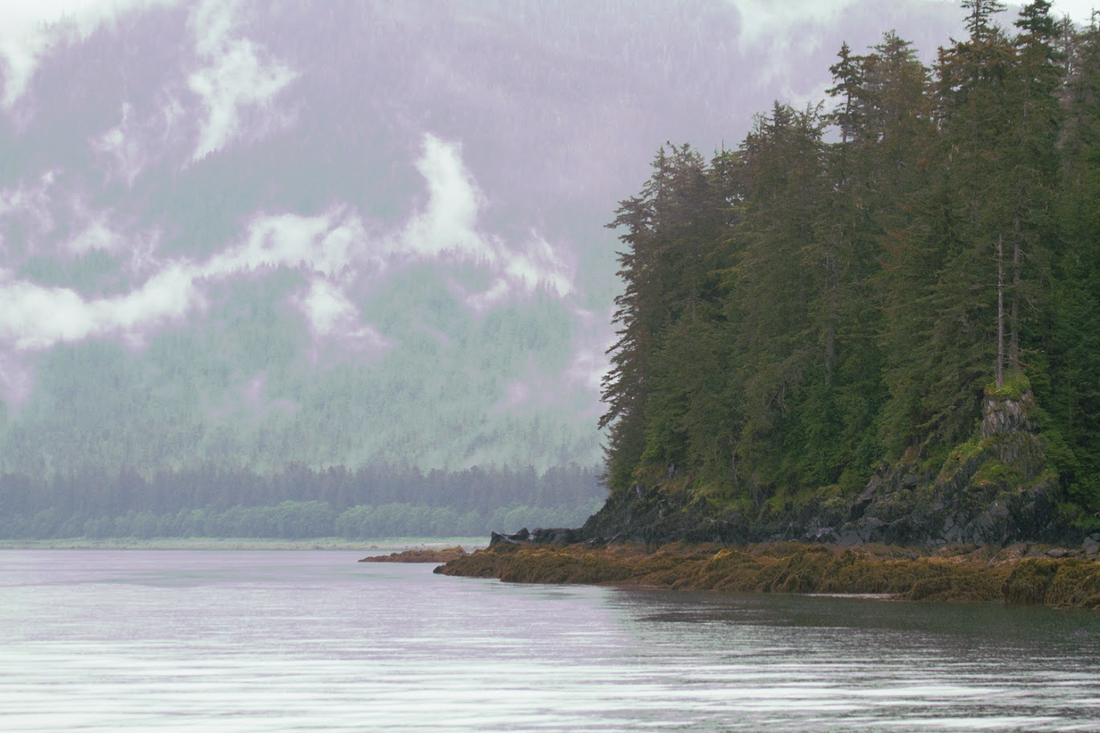
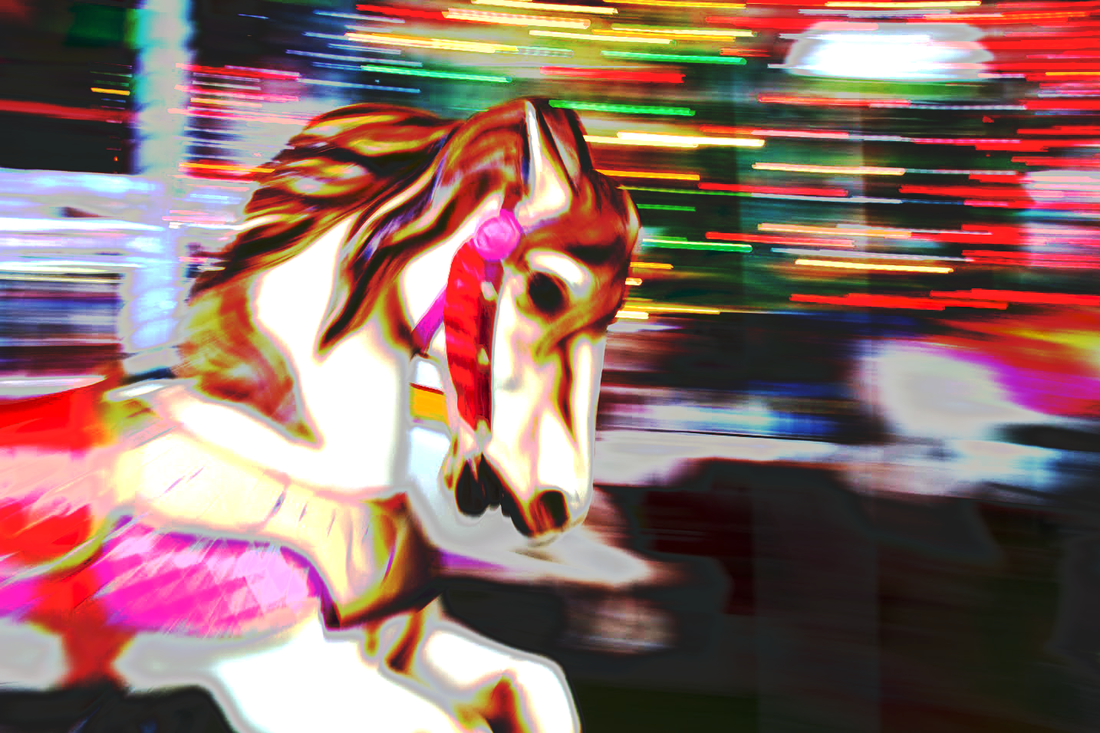
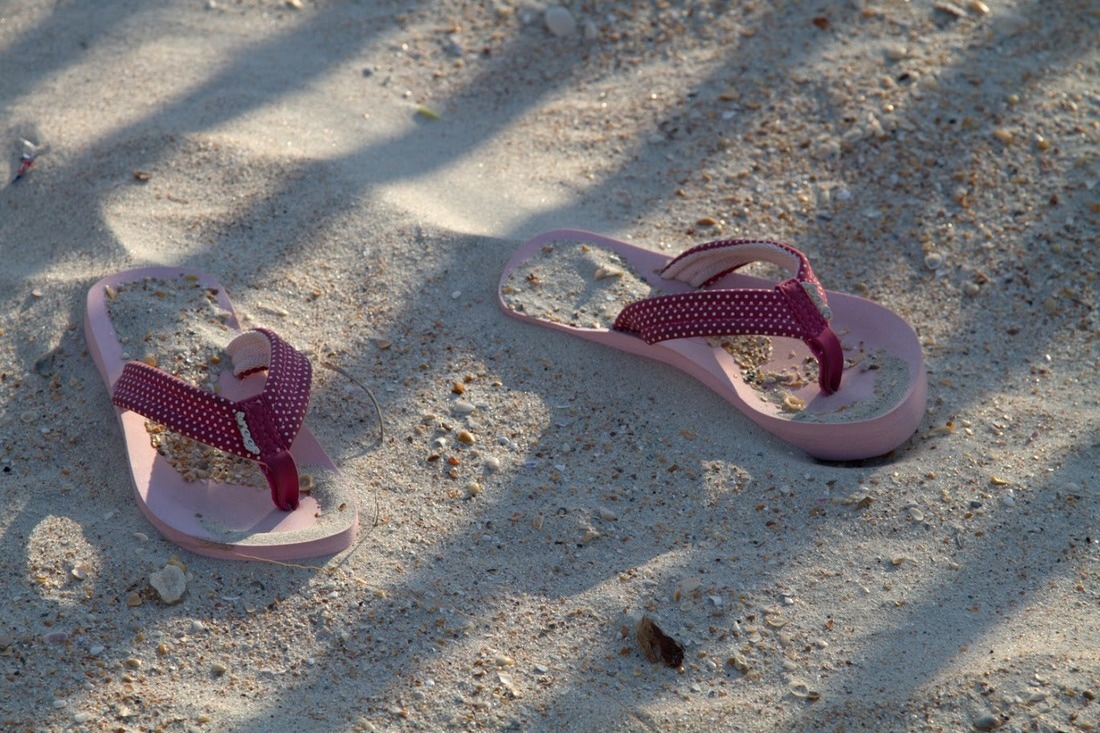
Overall, I felt that these original images had an overabundance of yellow and gray tones. What I did with the sunset is tone down the brightness of the shot, then increase the red and black values so that I can make the sunset more pronounced and turn the horse and man into a silhouette.
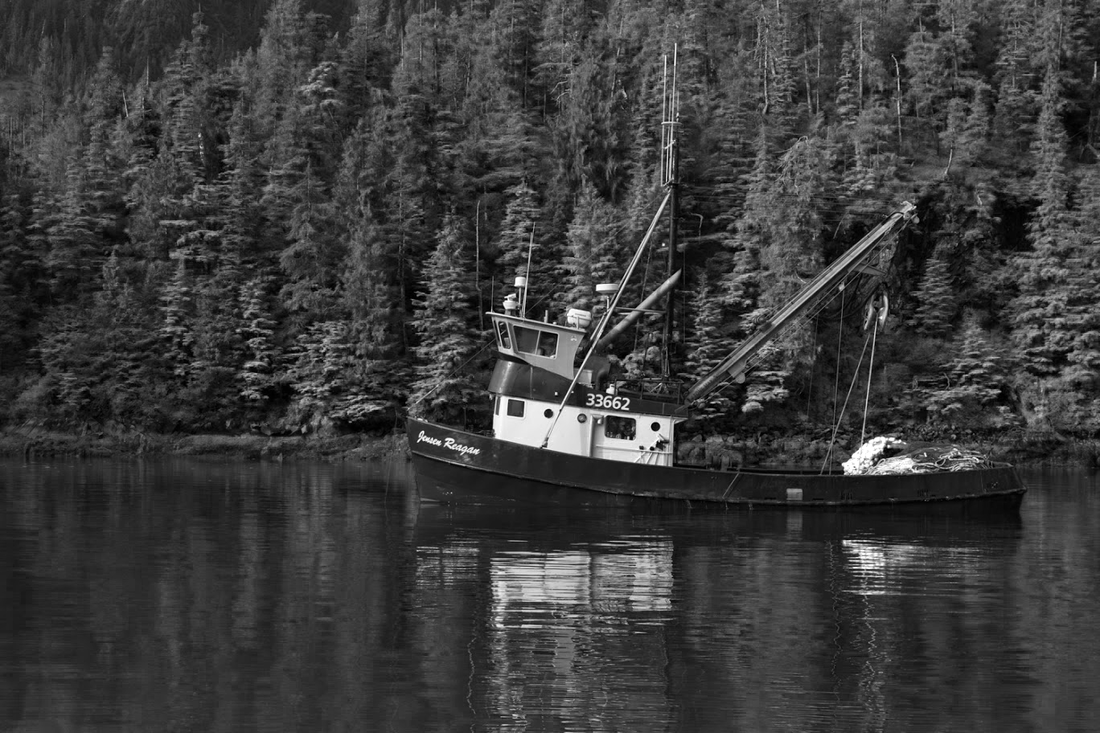
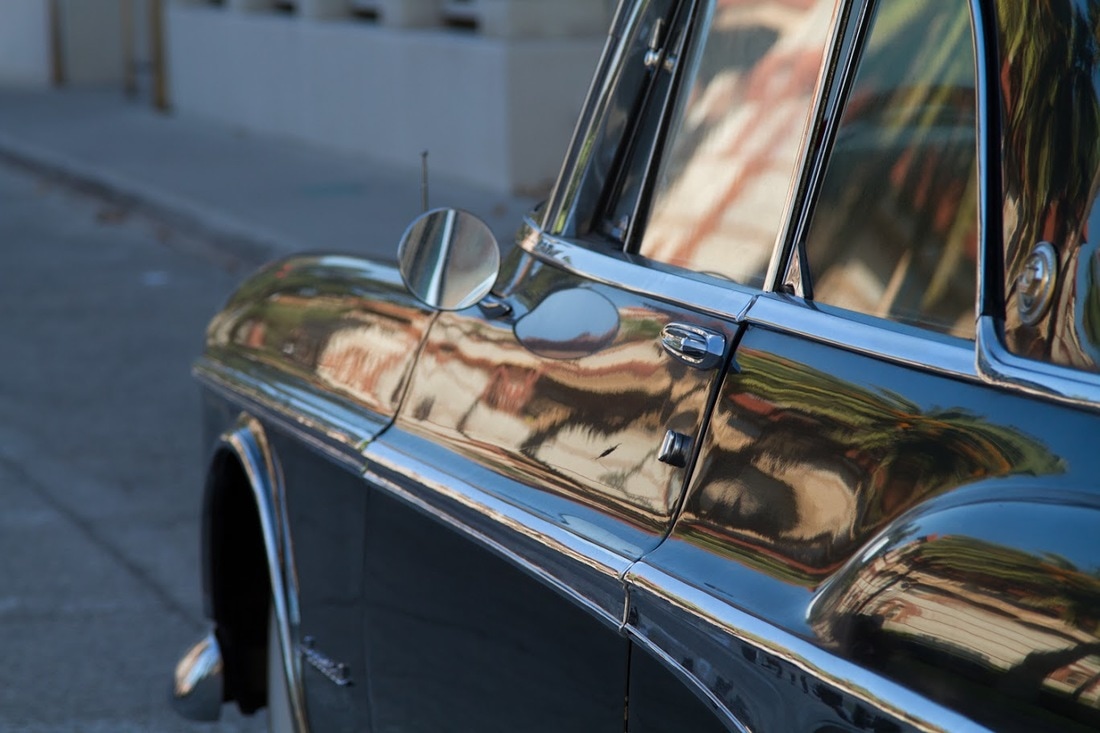
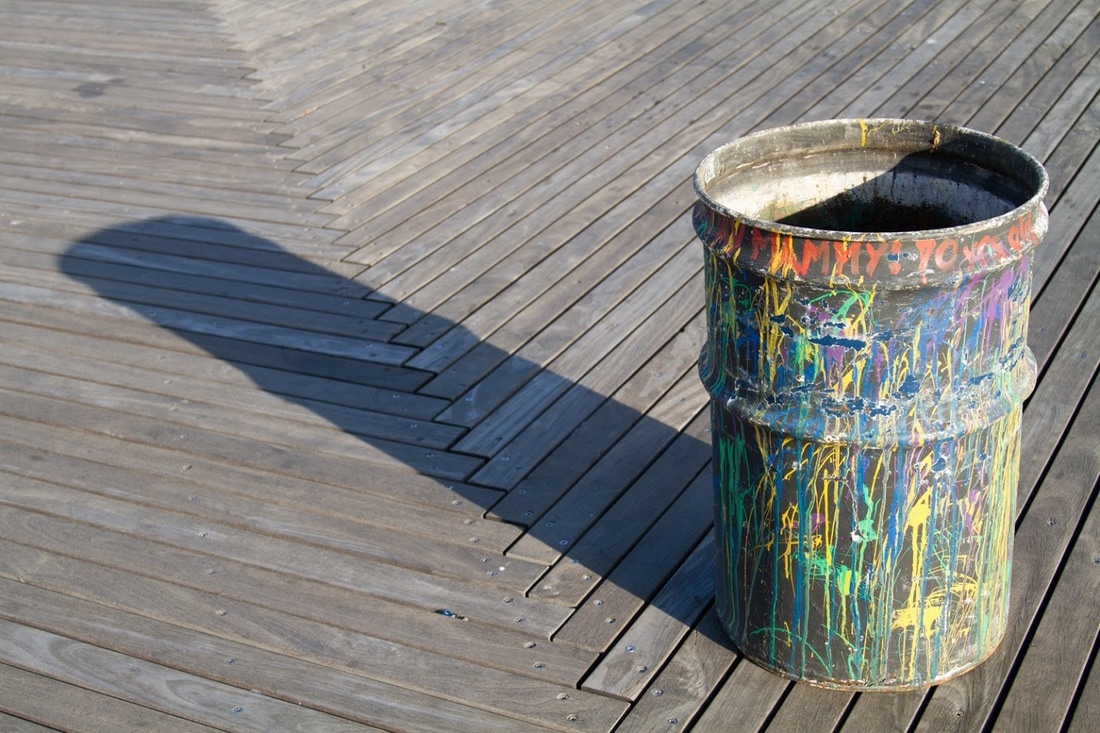
I mostly improved the contrast of dark and light tones in this picture. I didn't like the grayed-out buildings in the distance, so I dialed up the saturation and vibrance of the image. The water and sky were a bit too gray for my liking, so I increased the blue and cyan values of the image so that the bridge could pop out more out of the shot.
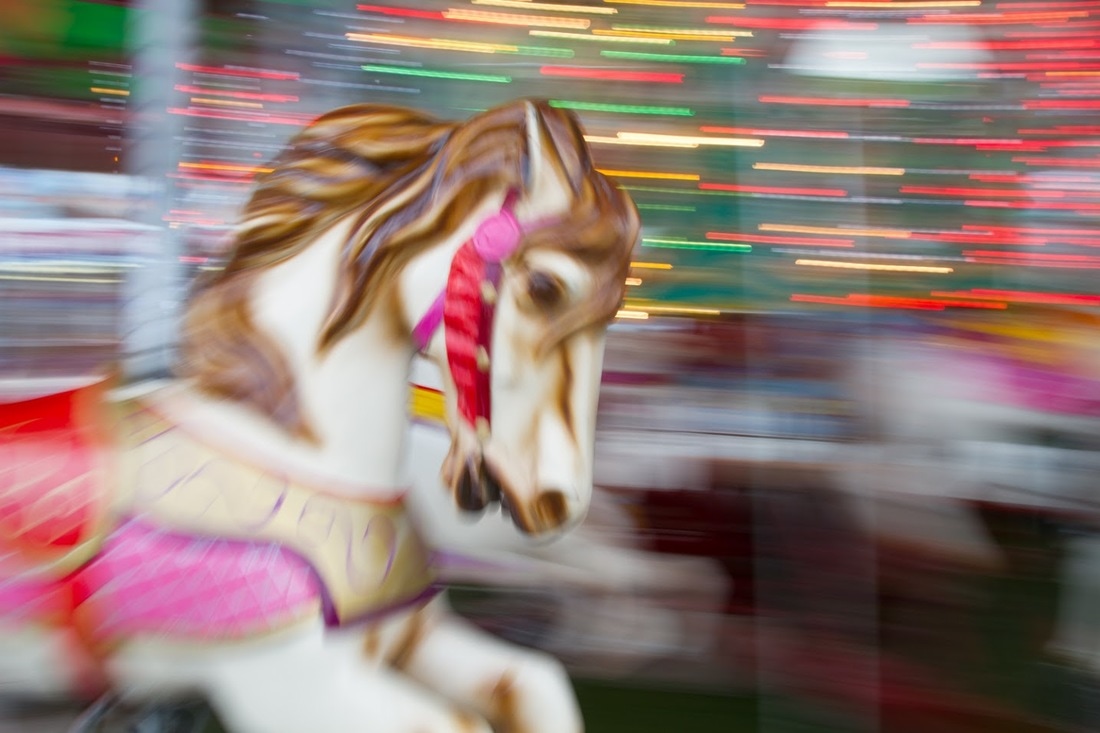
This picture was overall too bright -- I decided at a cost to turn up the brightness of the picture. This did two things: it increased the clarity of the shot while preserving the dynamic range of colors. At the same time, the cost of this was having a shot with a greater range of grays and less range of colors such as red and yellow. Therefore, i increased the vibrancy as much as I could without making the sky an ugly shade of orange. The result is satisfactory.
|
3/2
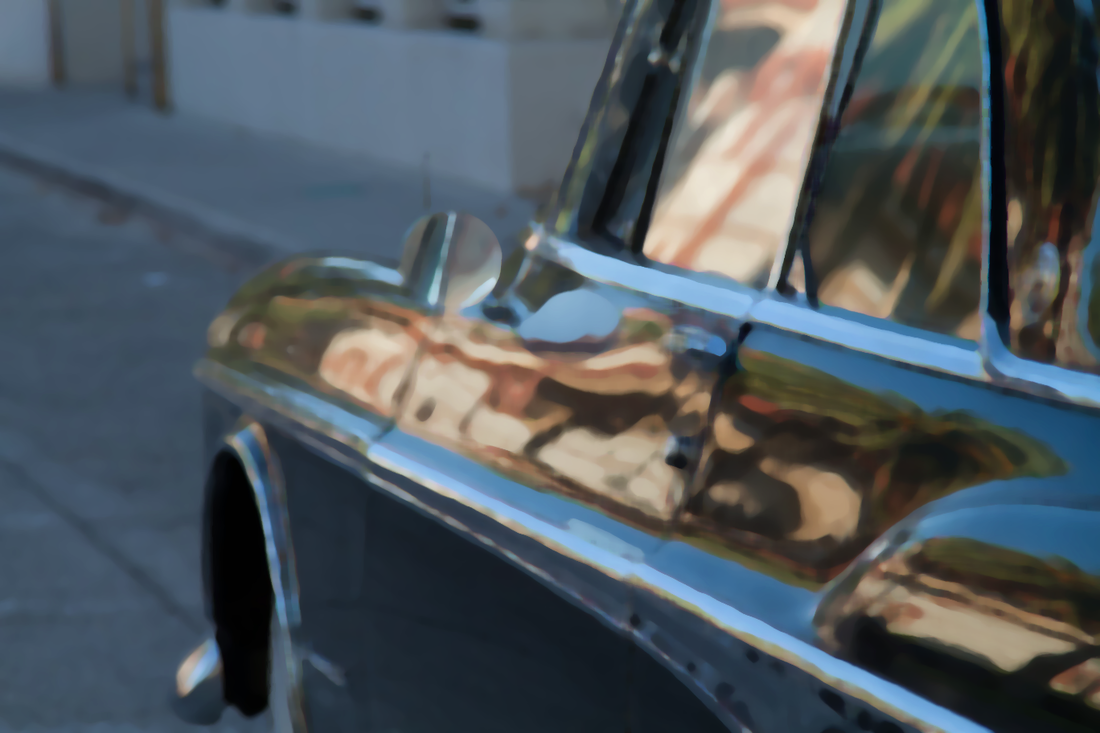
Think of the 'CLONE STAMP TOOL' as a way to pant with photographic pixels. This tool is used to sample an area of an image and them paint the sampled area into another area on the same layer, a different layer, or even into another document. This tool has been widely used to clean up spots, dust, tears or unwanted imagery by covering them up with sampled areas. The challenge is to make the sampled areas blend into the target areas seamlessly.
Think of the 'CLONE STAMP TOOL' as a way to pant with photographic pixels. This tool is used to sample an area of an image and them paint the sampled area into another area on the same layer, a different layer, or even into another document. This tool has been widely used to clean up spots, dust, tears or unwanted imagery by covering them up with sampled areas. The challenge is to make the sampled areas blend into the target areas seamlessly.
3/6
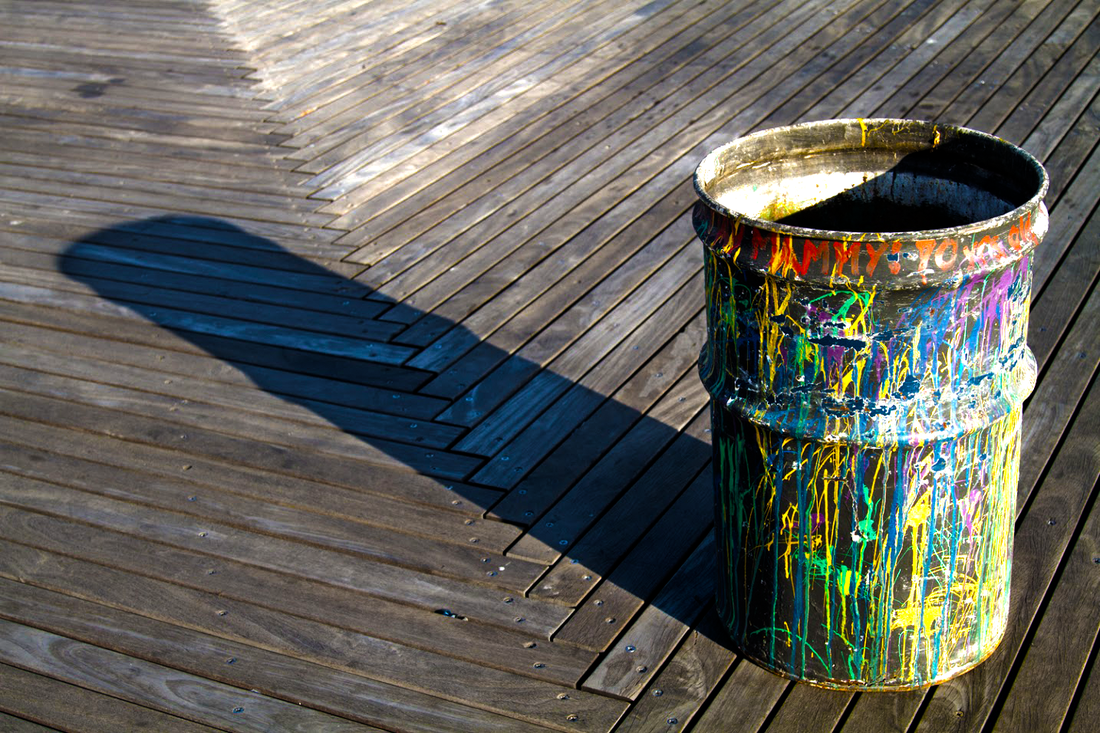
TONAL RANGE or DYNAMIC RANGE
HIGHLIGHTS - lightest pixels 205-255
MIDTONES - midrange - 65-204
SHADOWS - darkest - 0-64
A properly balanced image typically has pixels in all three areas, however there is no right or wrong image tonality. Some are meant to be predominantly light or dark, based on the lighting conditions and subject matter.


|

|


3/10
Brush and Fill tools often use the Foreground and Background colors. There are many ways to specify these colors. Painting tools such as the Brush tool and the Pencil tool paint in the Foreground color. The Paint Bucket tool can fill a layer or selection with the Foreground color.
The top of the color Picker dialog box will show the Foreground Color or Background Color.
You can choose your Color Picker numerically or by clicking the Color Field.


|


|